

The garlic pickle is traditionally known as “Lasoon ka Achar” in Hindi. It is not just a condiment but is also considered a remedy in Ayurveda, the ancient Indian medicinal system. Garlic is renowned for its various health benefits, including its ability to boost the immune system, aid digestion, and lower cholesterol levels. In Ayurveda, garlic is often used for its therapeutic properties, making Garlic Pickle not only a flavorful addition to meals but also a medicinal delicacy that promotes overall well-being.
How To Make Garlick Pickle?
Welcome back to “Chatkaar”! Today, we’re diving into the delightful world of pickles with a recipe for Fresh Garlic Pickles. Follow along as we take you through each step to create this flavorful condiment.
Step 1: Preparing the Garlic
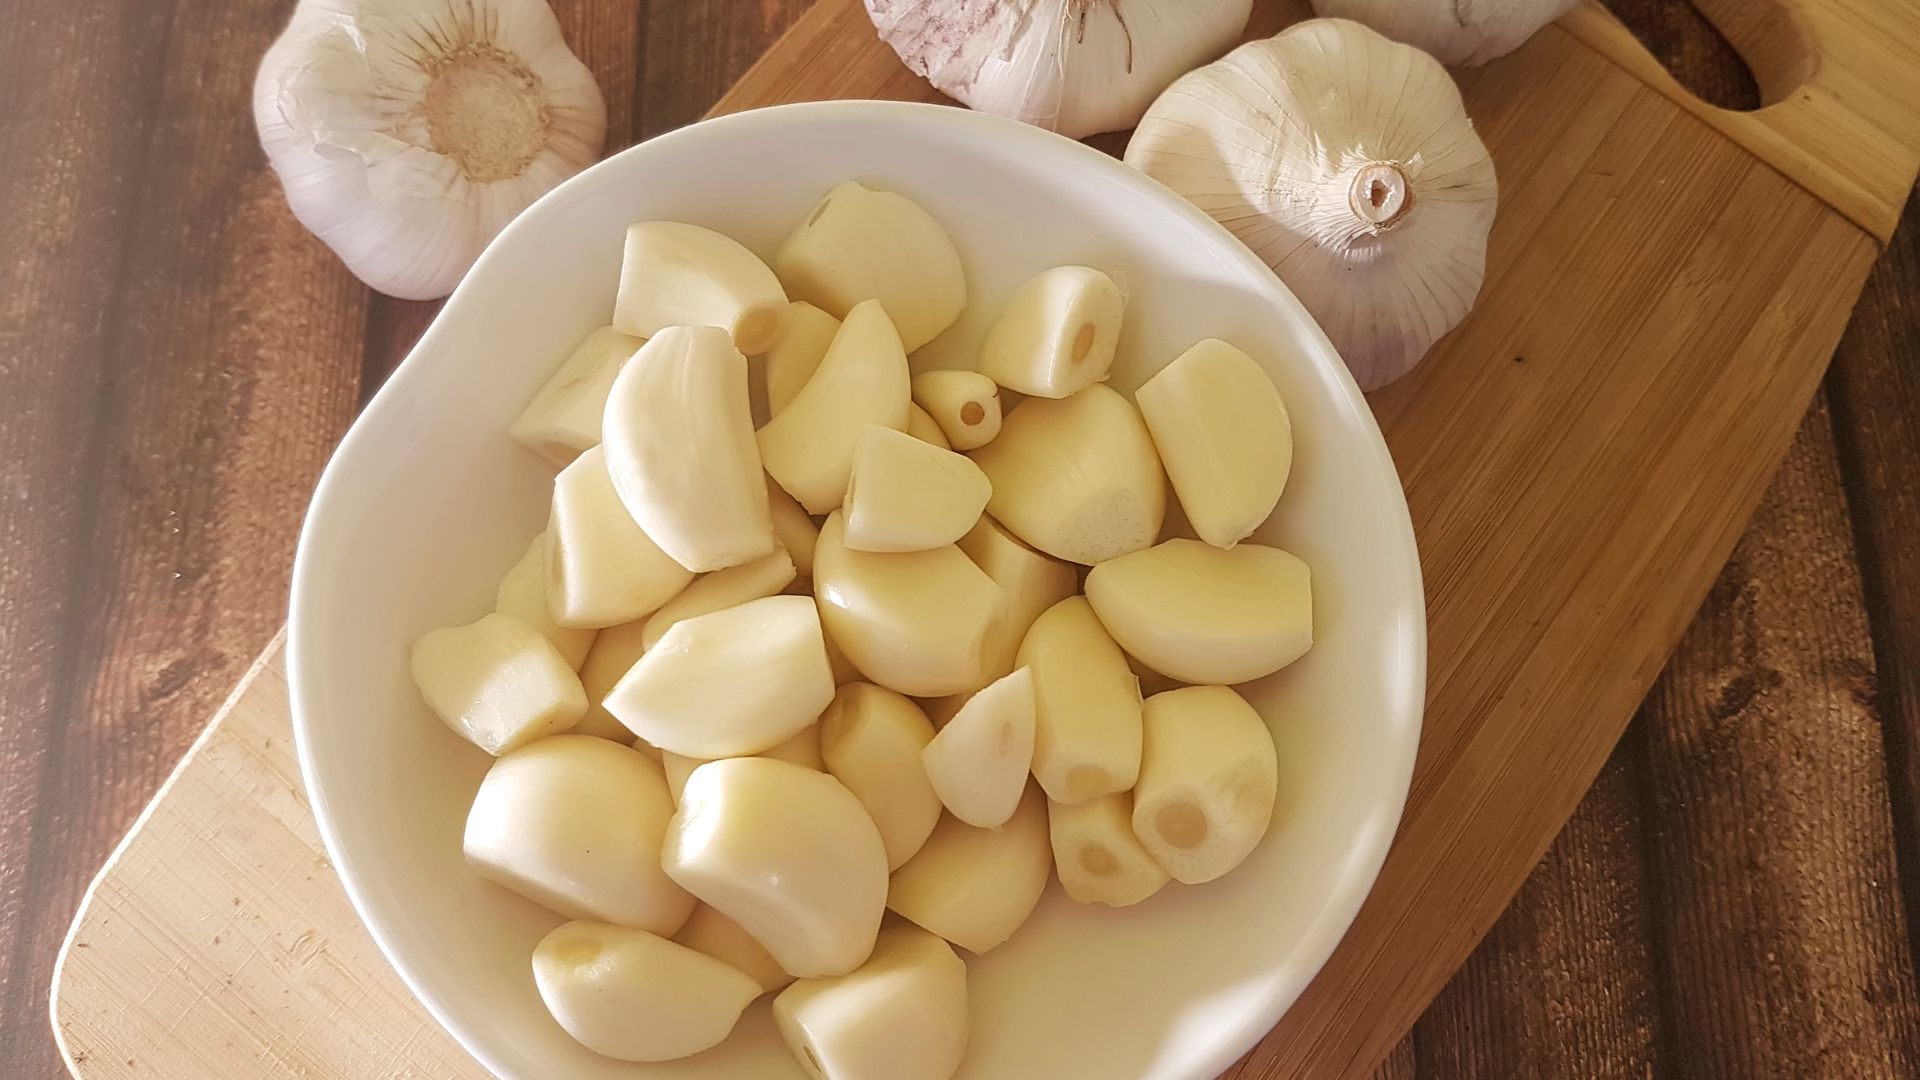
- Start by selecting high-quality garlic bulbs. Whether small or large, the choice is yours, as each offers a unique flavor profile.
- Peel and wash the garlic cloves thoroughly. Pat them dry with a towel or cloth to remove excess moisture, which helps in the frying process.
Step 2: Pan-Frying the Garlic
- Heat vegetable oil in a wok or kadhai over a low flame.
- Add the prepared garlic cloves and gently pan-fry them until they turn golden brown, ensuring they are not raw but not crispy either. This step enhances the flavor and partially cooks the garlic. Once done, transfer the garlic to a large bowl.
Step 3: Preparing the Spice Base
- In the same pan, heat sesame oil over medium heat.
- Add mustard seeds and allow them to splutter before adding cumin seeds, fenugreek seeds, asafoetida (hing), green chilies (optional), and curry leaves. Stir briefly.
Step 4: Adding Aromatic Paste
- Introduce a paste of ginger, garlic, and green chilies to the pan. Be cautious as it may splutter.
- Cook the paste until the raw aroma dissipates, adjusting the flame as needed to prevent burning.
Step 5: Infusing with Spices
- Reduce the flame and add a combination of spicy and colorful red chili powder to the pan. Fry the spices gently until they release their aroma, taking care not to burn them.
Step 6: Enhancing Flavors
- Pour in white vinegar to elevate the flavors, followed by crushed black jaggery and a touch of sugar for sweetness. Adjust the salt to taste.
Step 7: Combining Ingredients
- Mix the spice blend thoroughly, ensuring the jaggery and sugar dissolve completely.
- Add the pan-fried garlic cloves to the mixture, coating them evenly with the spice blend.
Step 8: Final Cooking
- Allow the pickle to simmer on low heat for about five minutes, allowing the flavors to meld together.
- Remove from heat and let the pickle cool to room temperature.
Step 9: Storage and Serving
- Sterilize a glass jar using either an oven or hot water, ensuring cleanliness.
- Transfer the cooled pickle into the sterilized jar and seal it tightly.
- Store the pickle in the refrigerator for longevity, ensuring to use a clean spoon every time you serve.
Step 10: Enjoying the Pickle
- This Fresh Garlic Pickle can be savored immediately or allowed to mature for up to six months.
- Serve it alongside chapati, phulka, varan bhaat, khichdi, aloo ki sabzi, or puri for a delicious and satisfying meal.
Thank you for joining us on this flavorful journey! Stay tuned for more quick, simple, and fantastic recipes on Chatkaar. Until next time, happy cooking!